Calling all photographers, Kels Converse Education this way >
FOR PHOTOGRAPHERS
CALLING ALL PHOTOGRAPHERS, KELS CONVERSE EDUCATION THIS WAY >

Wandering Weddings Full Review: Everything You Need to Know
Wandering Weddings | Elopement blogs | Top Elopement Resources
Disclosure: There are some affiliate links below, but these are all products or services I use and recommend. I won’t put anything on this page that I haven’t verified and/or personally used.
Wandering Weddings is the top blog for those looking to elope – or even those who are looking to book elopements! Think the elopement version of Junebug Weddings or Green Wedding Shoes. Wandering Weddings focuses specifically on elopements and adventurous wedding days. If you are a vendor that also wants to get into the elopement space, I’m here to help share with you an honest review of being a member of Wandering Weddings.
If you are looking to sign up, follow the below steps to get 10% off your yearly membership.
- Click the Wandering Weddings website here
- Once you choose your membership, use the code XLPGDJWCHG for your discount!
Benefits of being a Wandering Weddings member
When I first started, I got approached by the Knot several times. They wanted me to pay a fee of around $250 per month. No freaking way was I doing that. So I focused on SEO and building myself on google as much as I could. Until I found Wandering Weddings, who my client base generally would go to for elopement help and vendor resources.
There were so many benefits I found this company has built, so I want to start this post with the benefits of being a Wandering Weddings member.
- Blog submission: If you are not a Wandering Weddings member, you cannot submit to their blog. This is a huge benefit, because if your area isn’t a super popular place for vendors, then you have a better chance of getting featured. And getting featured on massive blog websites like Wandering Weddings had so many benefits.
- Domain Authority and backlinks: So if you get featured, or even just having your information on Wandering Weddings, you are immediately helping your SEO. Google loves knowing that trustworthy sites are sharing your content and website, because then they know they can trust you too. Having backlinks (a link to your site from an outside source), is one of the best things you can do for SEO. Just signing up as a Wandering Weddings vendor will get you the backlinks!
- IG Publicity: Wandering Weddings is mainly focusing on their blogs, which would then get you featured on their social channels. The more you submit and the more they are accepted, the more locations you get shared in.
- Exclusive Partner discounts: They’ve partnered with some key brands to offer discounts for Wandering Weddings members. Some include an SEO course, a discount to Flodesk and more.
- Members on facebook group: They also have a Wandering Weddings member only Facebook group. This is great because they are constantly asking for feedback or even sharing information. What I also love about it is if they are looking for specific type of content, they will ask this group first.
Why I decided to sign up for Wandering Weddings
Let’s be honest, with some of the wedding blogs, they can charge a hefty amount to be a part of. There were many reasons I signed up for Wandering Weddings, and one of the main reasons is that their membership rate is extremely affordable. But let me get into all the nitty gritty.
- Membership: For photographers, their membership is just $200 per year. This is extremely affordable, especially if you get just one booking you make well over that cost!
- Newer platform: While Wandering Weddings has been around for years, they have really put an emphasis on their platform in 2020/2021. They are working religiously on their SEO to make sure they are on the first page for all the key words. They are also creating a ton of resources for elopement couples, making their blog a go to resource.
- The earlier you sign up, the better: As of right now, the earlier you sign up, the higher you are on the rankings for each state. So when someone is looking for a photographer in New Hampshire, my information is in the top 6 which I find to be very important.
- It’s just the beginning: I mentioned this before, but I believe this is just the beginning for Wandering Weddings. The amount of effort they are putting into helping couples who are eloping, I think the brand is going to expand even more. And for us vendors in New England, elopements are starting to become more popular and couples need to know who specializes in them.
I’ve now been a part of Wandering Weddings for 4 years. I’ve spent $800, and have booked over 5 elopements with couples who have found me through the website. Which means it has given me over $20,000 in bookings. I would say that’s a solid ROI, which is what I base all of my investments off of.
How to become a Wandering Weddings Member and create your vendor profile
Becoming a Wandering Weddings member is quite simple. Below is a step by step guide on how to sign up and build out your member portfolio to attract clients.
- Head to the Wandering Weddings website here. Then click on join now.

2. Choose your vendor type (photographer, videographer, florist, planner, etc.)

3. Then simply join now and pay the yearly subscription. And that’s it! It’s that simple! But then it’s time to set up your account.
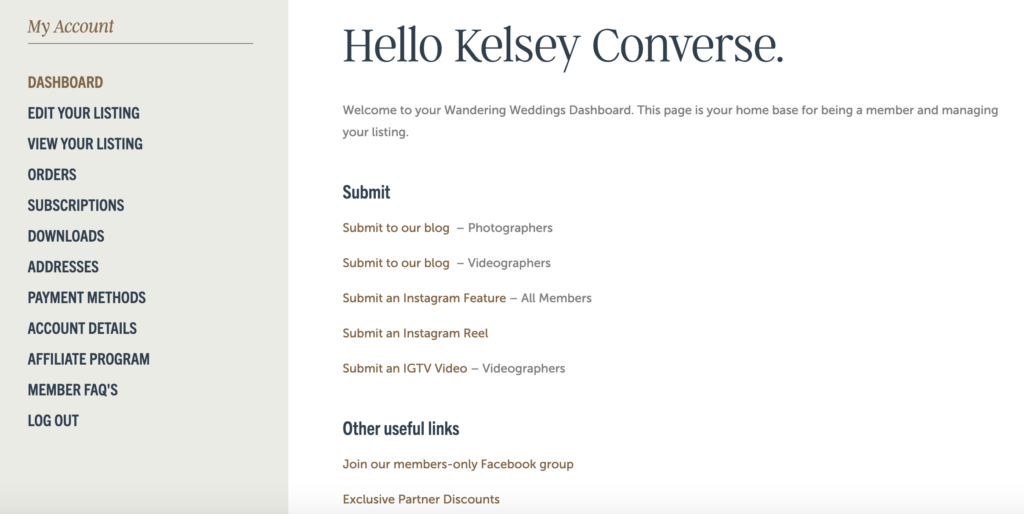
4. Once you’re signed up, you will login at the location where you signed up. Once you’re logged in, you can go to your dashboard that looks like the below.

5. Click on edit your listing. Then it will bring you to the WordPress site to edit your listing. If you aren’t a WordPress user, this might look a little confusing, so continue following the steps below.

6. Under your name, hover over the space and click on ‘edit’.

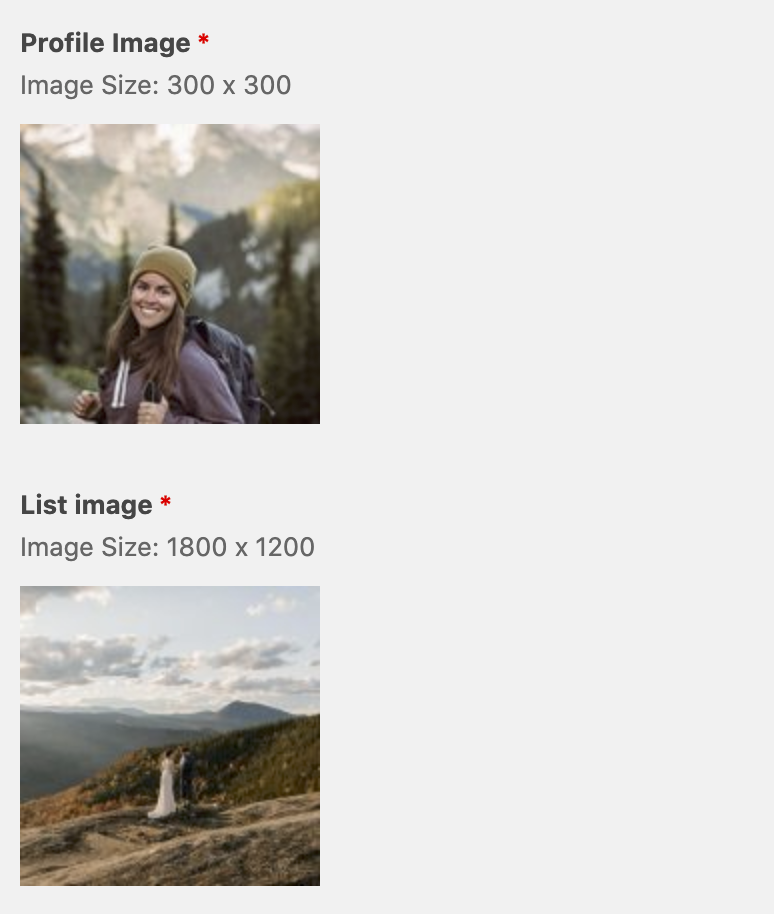
7. Profile image: Change your profile image. You need it to be 300×300, which you can simply change the size in lightroom or photoshop. I generally change the size in photoshop to make it easy! TIP: When changing the photo, I’d highly recommend making it a photo of yourself. People connect with people, and your work second!
8. List image: The next will be your list image. This image is what will show on the Wandering Weddings vendor list. You want this to be a statement and WOW image. An image that a couple will need to click on because they are so excited about you already!

9. Business details: The next information as you scroll down is pretty self explanatory. You can fill in all the information including your phone number, email, and website.
10. Social links: After those details, the next is social media posts. With this, you need to put the full link and then your social names. See below for example.

11. Company bio: Fill out your full bio. This can include all the information you’d like, but remember, this is what your potential clients are going to see. Think about how you can wow them and make them want to inquire with you. Here are some things I personally include:
- A small paragraph of about me and who I am.
- What to expect and what I provide in my packages
- The process of eloping with me
12. Slideshow images: Include hi-res images here that are the best of the best of your work. But also give a variety to show what someone can expect from throughout their day. Here’s a little checklist of some good items to share:
- Landscape images
- Ceremony, with and without guests
- Portraits, including close ups
- Other photos that demonstrate your unique work (astrophotography, movement, etc.)
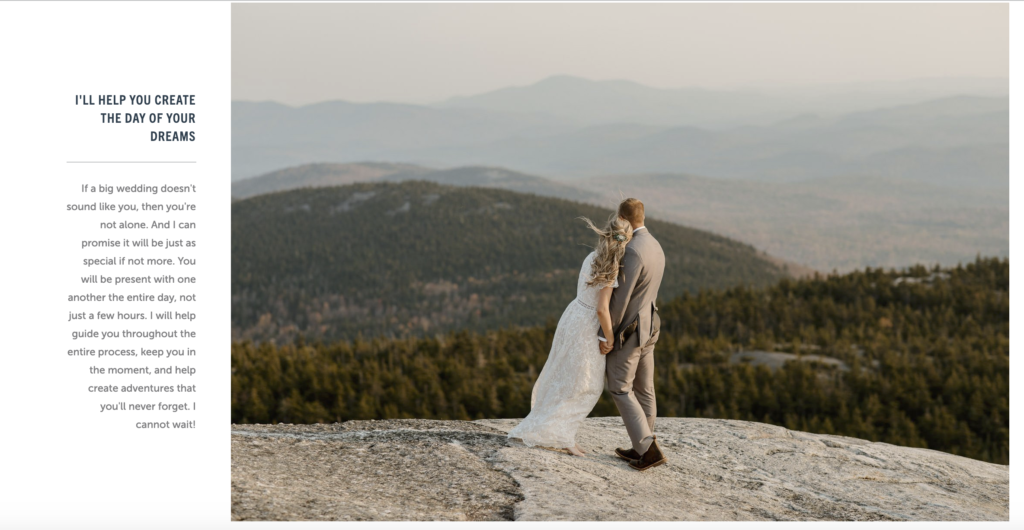
13. Extra area: This space in WordPress is the image break, caption title and caption text. This is a cool area on the website that a lot of people skip over. It’s great for adding more of your work and a little more detail into the service you provide. The below is what it looks like.
- Image break – this is the image you’ll submit like below.
- Caption title – this is the bold caption below.
- Caption text – this is the unbolded paragraph area.

14. Adding client reviews: the last step is to add in client reviews. These are really important for your future clients to see how past clients enjoyed their experience with you. Generally, you’d ask for reviews from your clients, but with Wandering Weddings, you can simply put in a review you love yourself. I’d recommend putting in 3-5 of your favorite full reviews, or even just small snippets of a review.
Here’s how to add a review:
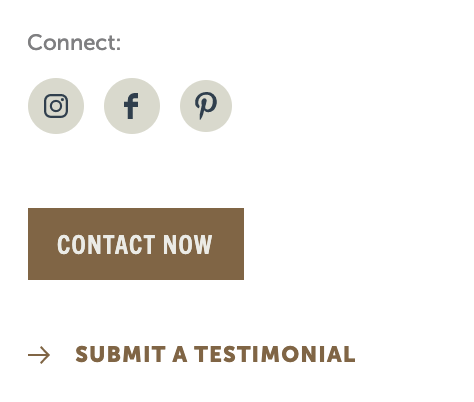
- Go to your vendor profile on the Wandering Weddings site. Click on submit a testimonial (like below). Then fill in the review yourself!

And that’s that! That’s how you set up your Wandering Weddings vendor profile.
Pin this on Pinterest!
